
All Rho Cards can be set up with custom controls to prevent fraudulent, out-of-policy, or unexpected spending before it happens.
Here are the controls you can set up for your Rho Cards:
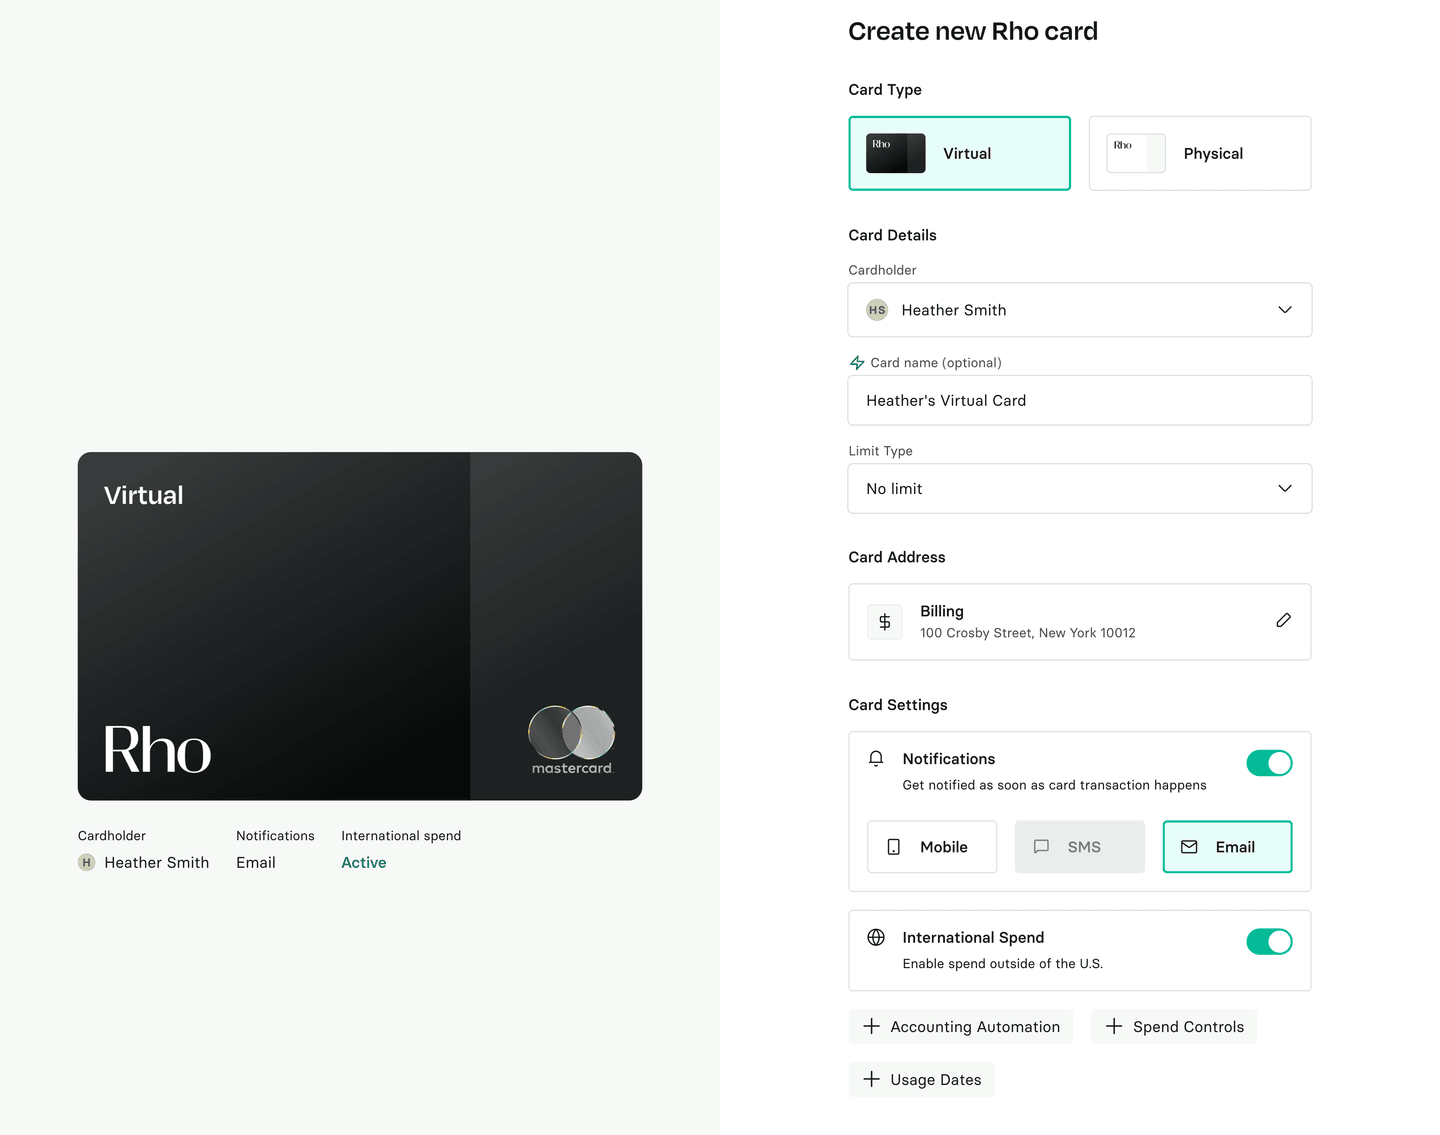
Set monthly spending limits
When you create a new Rho Card, you have the option to set a monthly spending limit. That means that any transaction that would exceed the monthly limit will be declined. Monthly card limits reset on the 1st of each month. The card limit can be changed in your Card Settings (here's how).
Note: If you have a user limit, your card limit cannot exceed that amount. User limits are set by Admins and Account Owners. Learn more about user limits here.
Billing and shipping address
By default, billing addresses for Rho Cards are set to your organization's billing address. However, you can set a different billing address for each Rho Card. For the majority of cases, using your organization’s billing address on file won’t cause any issues. However, some merchants may decline card transactions when the shipping address doesn’t match the billing address. To avoid these declines, you can add a different billing address to your card.
Merchant-level controls
Merchant-specific controls: You can limit a card's acceptance to a group of up to 20 distinct merchants. This means the card will only be accepted at those merchants, and transactions at merchants not on that list will be declined.
Merchant category controls: You can limit a card's acceptance to specific merchant categories (ex. Advertising Services, Airlines, Grocery Stores), which are set by Mastercard, the network partner for Rho Cards.
 You can also set merchant-level controls at the company level. See more here.
International Spend
By default, all Rho Cards have international spending enabled, meaning the card will go through for all transactions outside of the US. This can be toggled off and on at any time.
Fixed spending limits
To set a one-time limit for a virtual Rho Card, select Fixed in the Card Limit Type field. This means that the card can only be used up to a certain dollar amount.
Note: When transactions on a fixed limit card have fully settled, the card will automatically lock to help prevent additional spend.
 To set a one-time usage limit for a virtual Rho Card, select Single-Use.
Note: The limit can't be changed once the card is created.
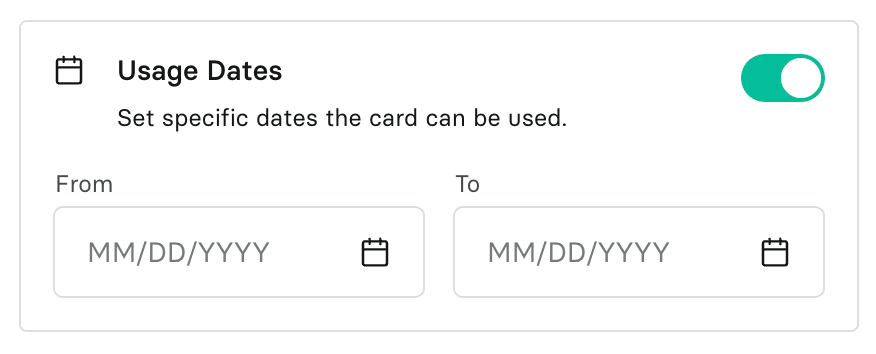
Card Usage Dates
You can set up custom active dates for your card, meaning that it can only be used between specified days. Note: By default, all Rho cards expire 3 years from issue date.
Accounting Automation
You can configure accounting automation settings for physical cards to help streamline reconciliation and categorization of transactions.
 To learn how to edit your card controls, read on here.