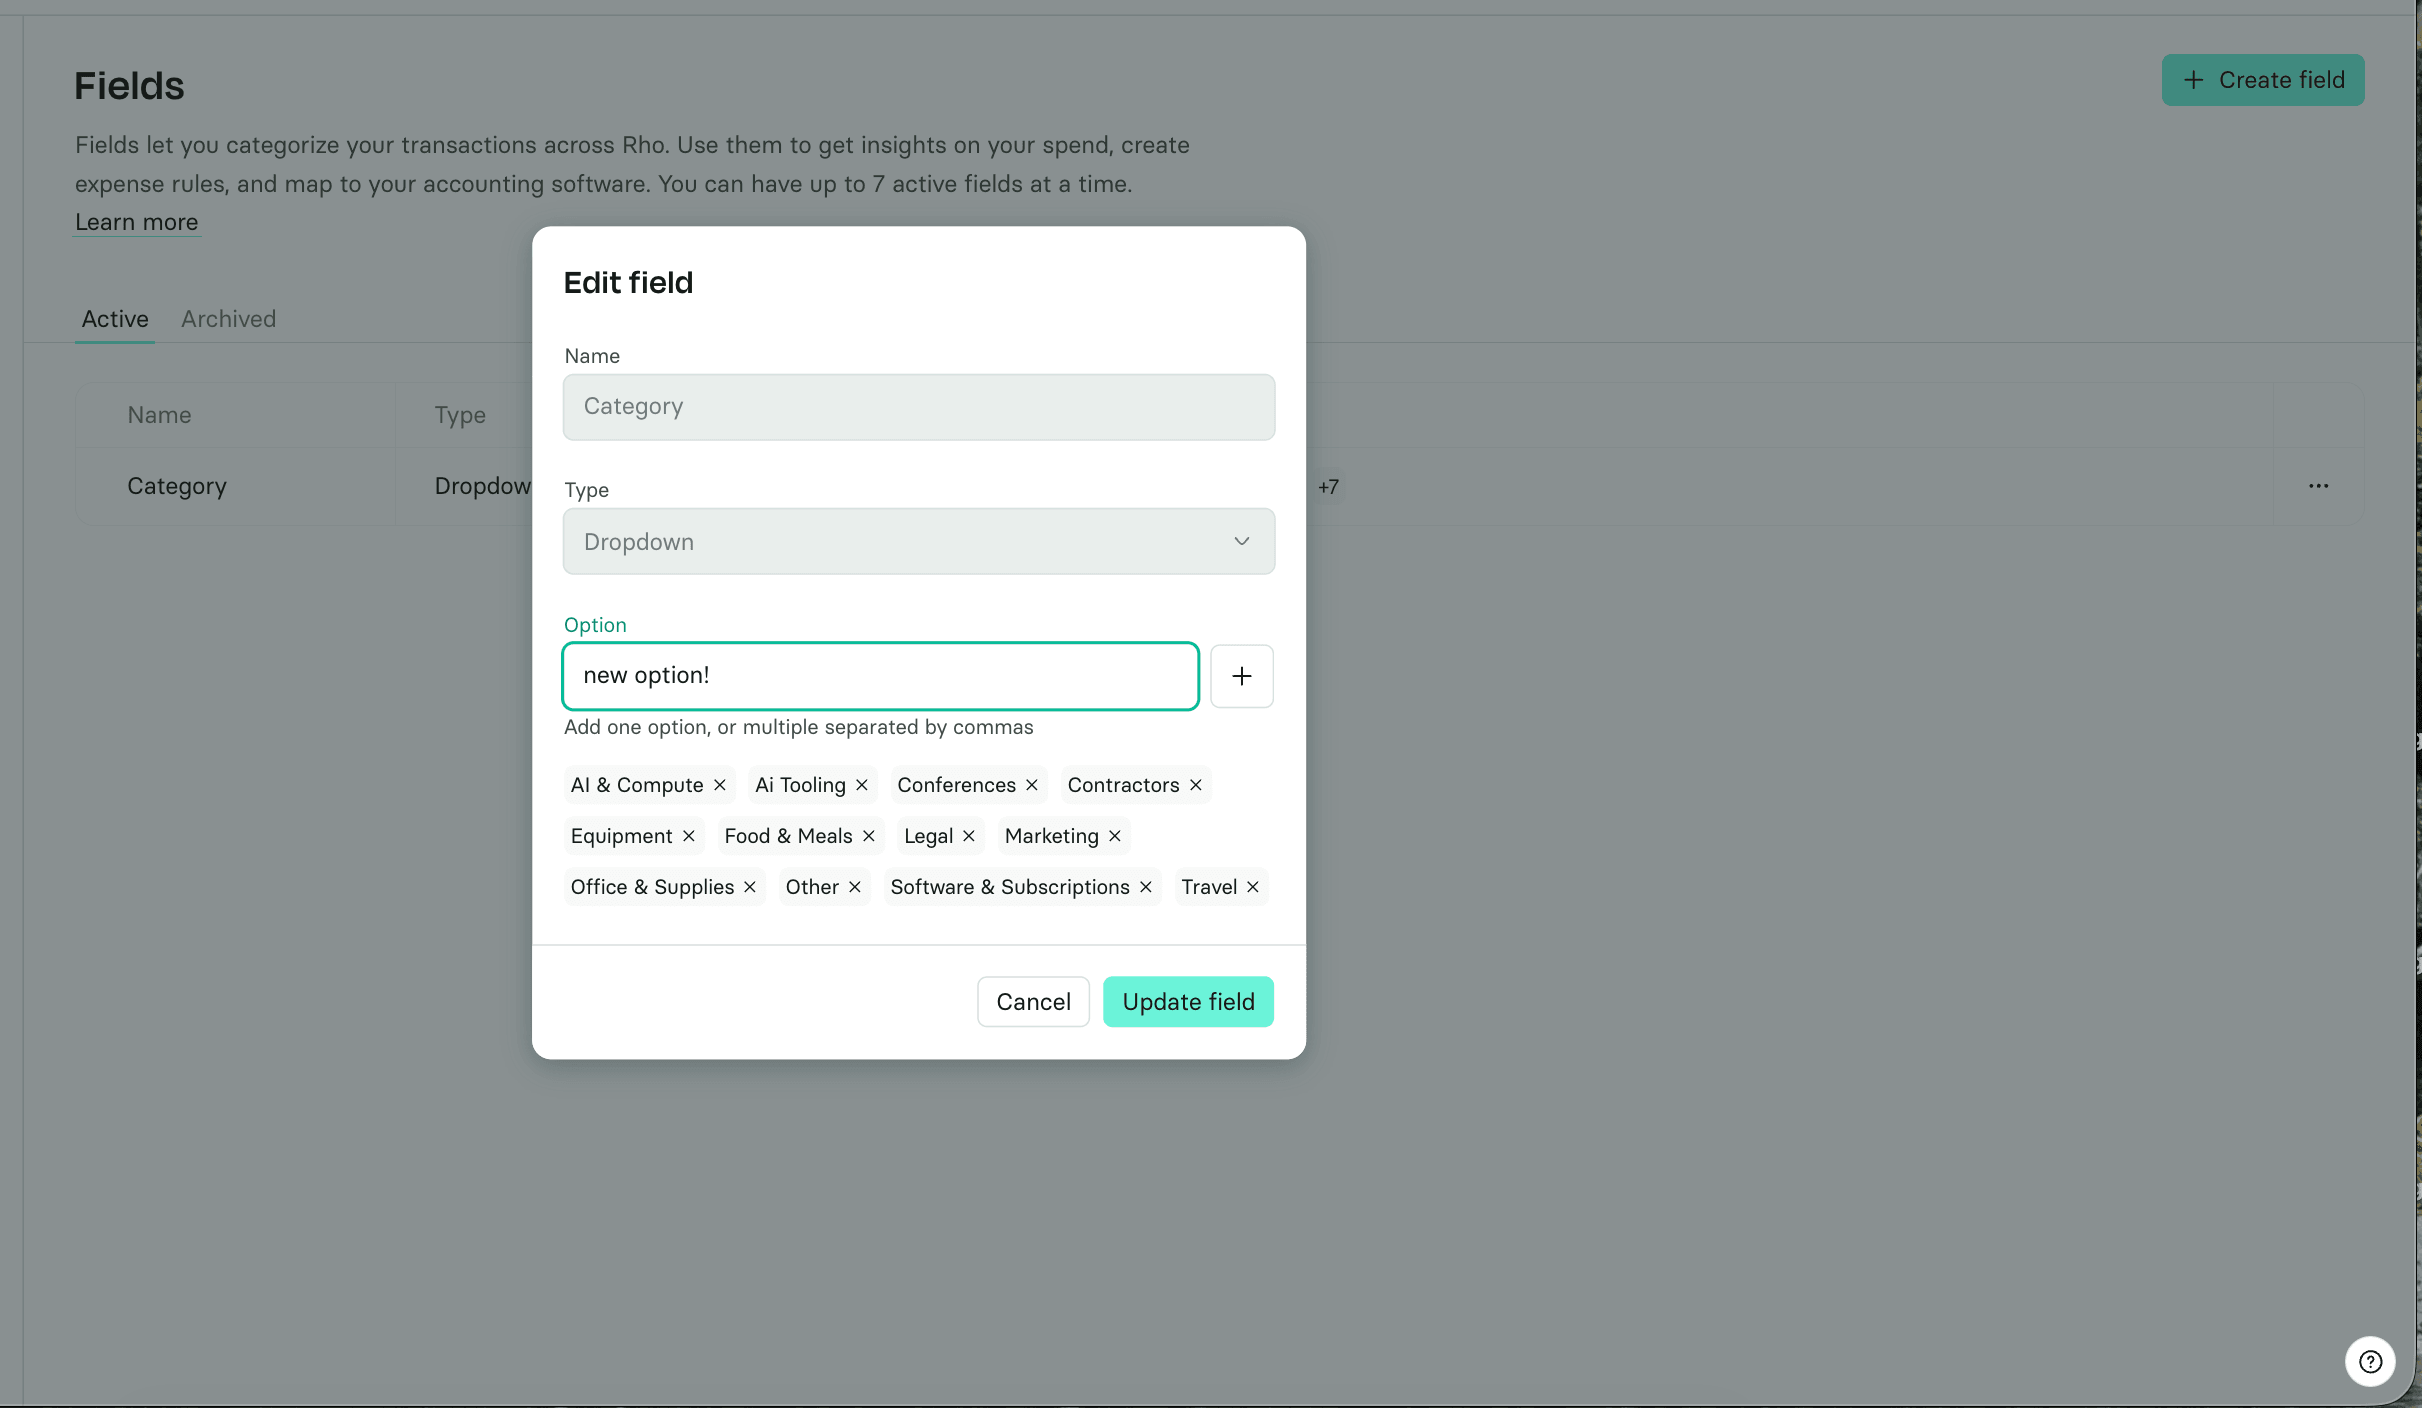
Create a Field
Go to Settings › Fields
Select New field (or Use starter Category if you have no Fields yet and want the suggested set)
Name the Field. Use the question you want answered on every transaction: Category, Project, Client
Choose the input type: Predefined list (your team picks from options you define) or Free text (your team types a value per transaction, good for job numbers or client codes)
For a predefined list, add your options. Type them one at a time, or paste comma-separated values to add several at once
Your new Field appears immediately as a column on transaction tables and as a row in the transaction drawer. You can have up to 7 active Fields at a time.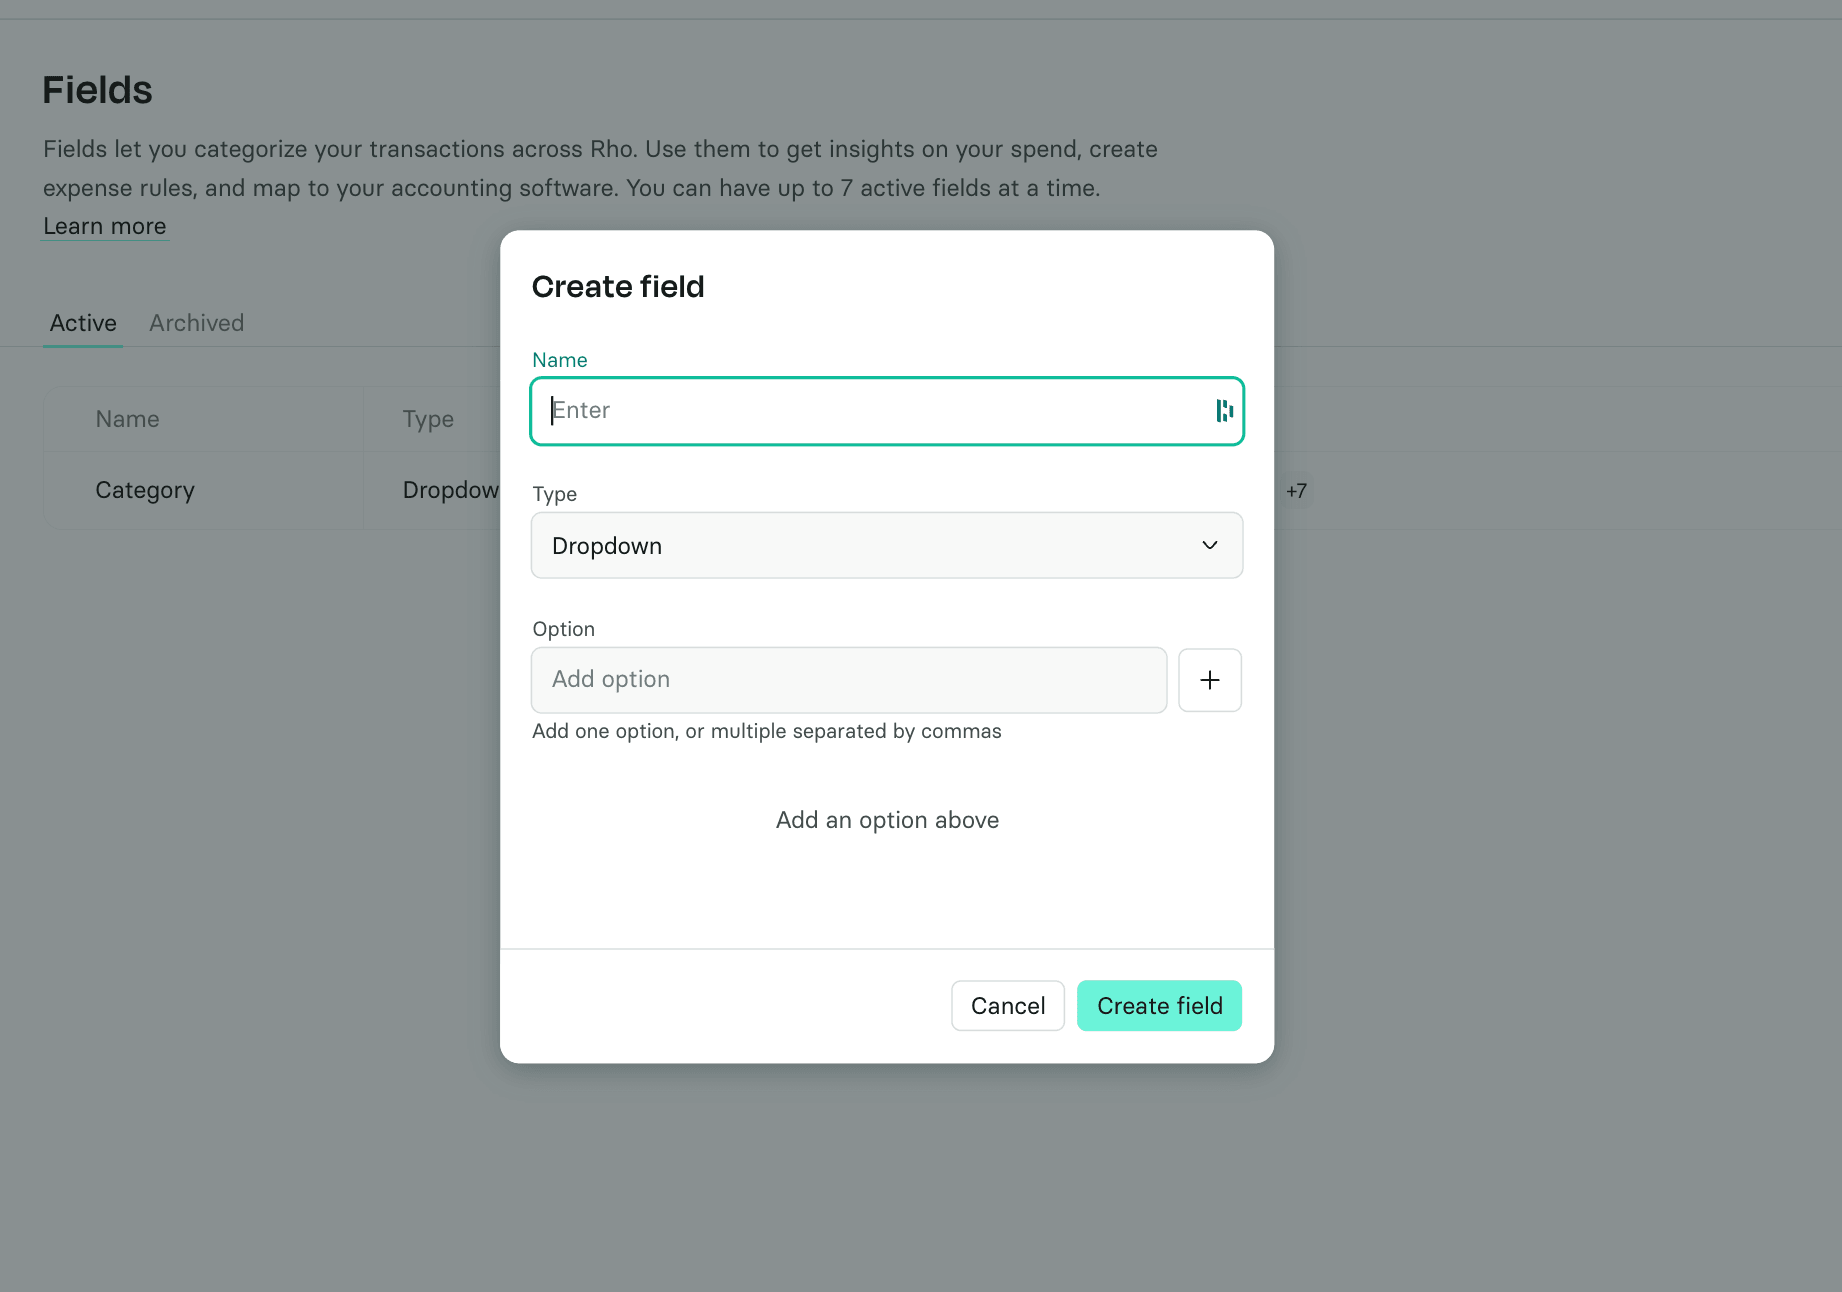
Add or edit options
In Settings › Fields, open the Field
Select Add value to append an option, or use the row actions to rename an option
Users with the "edit field values" permission can also add a new option on the fly from any place they apply the Field, so the list can grow as your business does
Renaming an option updates it everywhere it has been applied, including past transactions.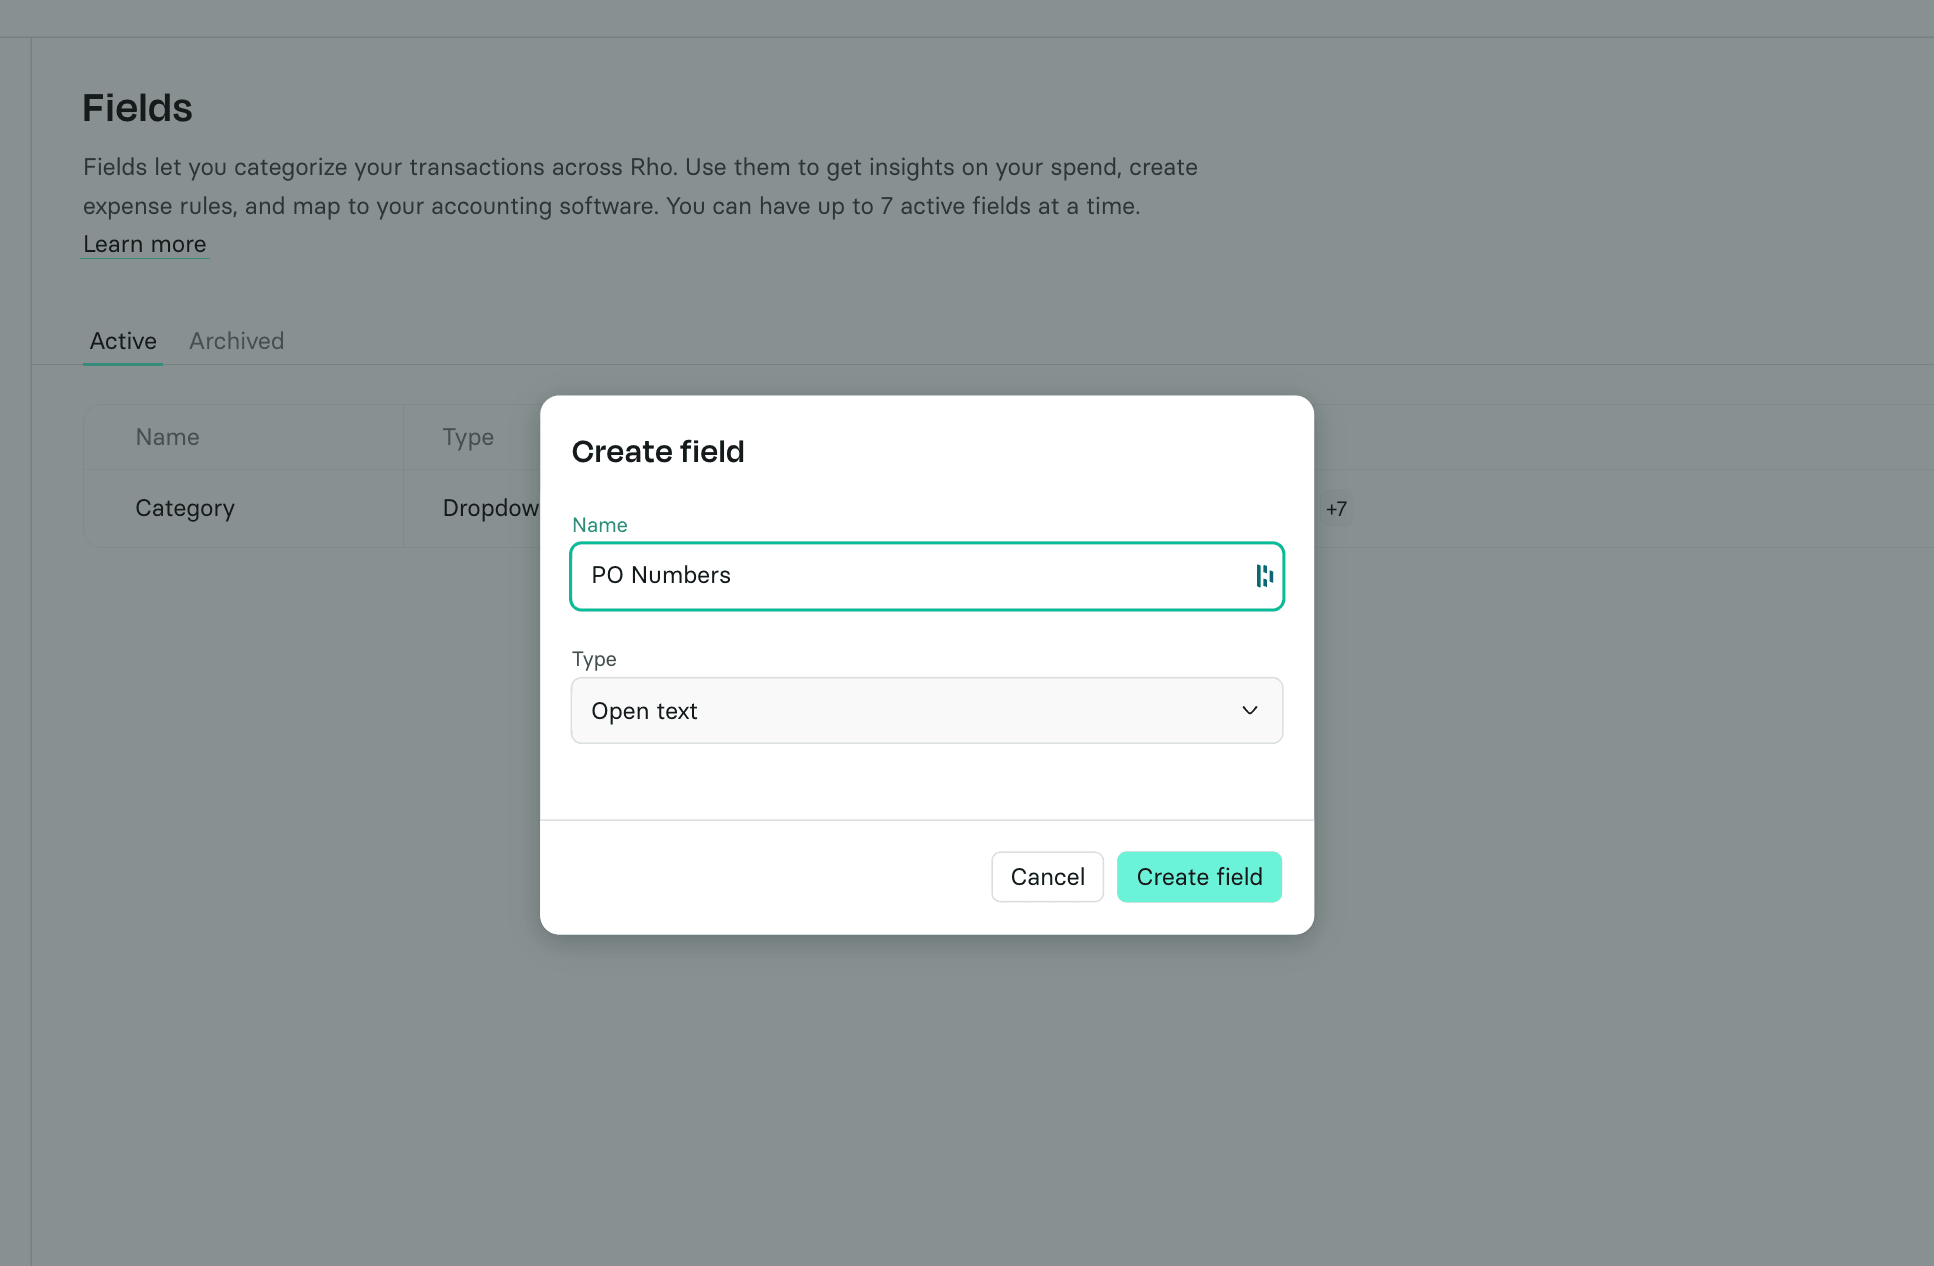
Add options in bulk
Type or paste comma-separated values into the option input and each one becomes its own option (for example: Marketing, Travel, Legal). Duplicates of existing options are skipped.
Archive an option or a Field
Archiving removes something from pickers going forward without touching history.
Archive an option from its row in the Field editor. Past transactions keep the option; nobody can apply it to new ones
Archive a Field from the Field's header row. Its column leaves your tables, and it stops counting toward the 7-Field limit
If an expense policy rule requires a Field you archive, that requirement stops being enforceable, so review your expense policies after archiving.