
Rho's Vendor management solution now allows you to collect & store Vendors' W-9 forms on the Rho Vendor profile.
How to collect Vendors' W-9 forms
You first need to have an active vendor profile. Then select the Vendor's profile > navigate to Tax Files > Select New W-9 Form
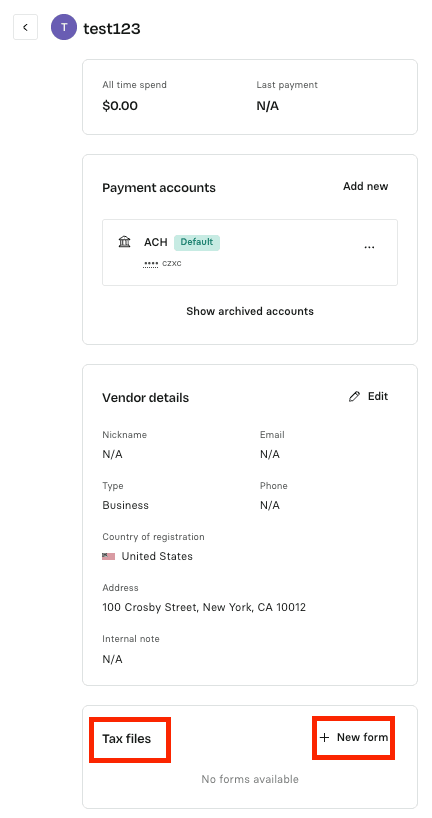
If you already have a W-9 form on file for this vendor and want to attach it to their profile, select the Upload & Verify option. If you don't have the W-9 on file, select Send Form to Vendor. For more information, see the article section How to Collect a W-9 from a Vendor.
After selecting Upload & Verify, upload the W-9 form file to the Select File section. Note that the file must be a PDF, and the maximum file size is 15 MB. Read and select the attestation to upload the W-9 form.
Once the W-9 form has been uploaded, please verify all fields parsed from it, read, and attest.
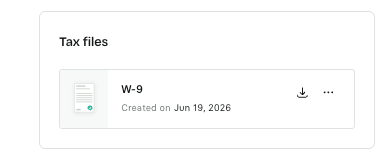
 The vendor profile will show the form, when it was added, and there will be an option to download the document:
How to collect a W-9 Form from a Vendor
After selecting Send form to Vendor, you will be prompted to confirm or enter their email address, read, attest & confirm before sending the request

The vendor profile will show a status that the W-9 form is pending from the Vendor. Once received, the status will change to On file

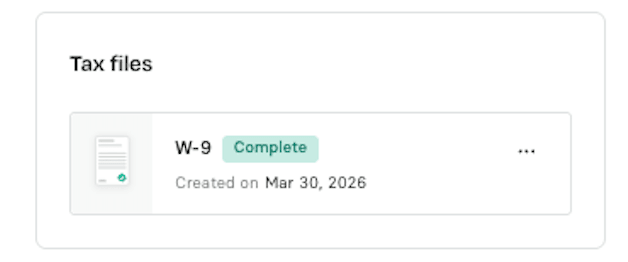
 If the vendor has chosen the option to send externally, it will say Completed, and the form will not be available for download, unless uploaded by a user to the Vendor’s profile. This option means that the vendor provided the form in another way and not via a link:
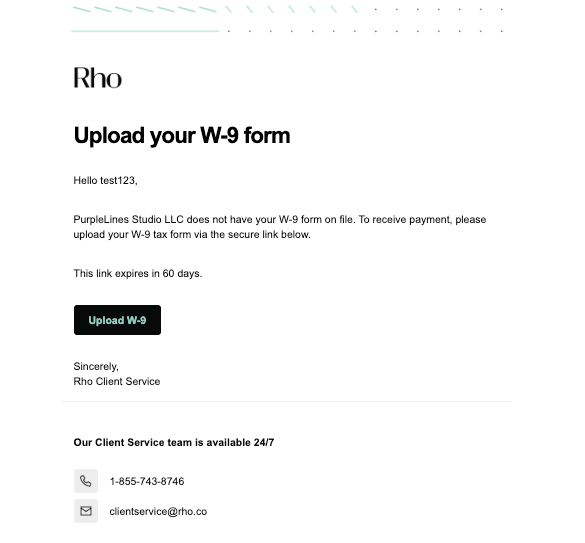
The vendor will receive the following email. The portal will be live for 60 days, during which time the Vendor can upload their W-9 form, review it, attest to the information's accuracy, and complete the submission.
Requests that are not completed will expire & can be resent by the Rho user.
How to export information
All W-9 data is available via CSV export for use with the 1099 filing provider of your choice.