





ACH debit authorizations are currently in beta. If you don't see this feature in your Rho account and would like access, contact Rho Client Services to request it.
What are ACH debit authorizations?
A debit happens when a company or person uses your account and routing numbers to pull money from your account.
ACH Authorization lets you choose exactly which counterparties can debit your Rho checking accounts through ACH.
You decide who can debit your accounts, from which accounts, and up to what amount, and you can set a default rule that automatically handles debits from counterparties you have not authorized.
Who can use it
Only Account Owners and Admins can set up and manage ACH Authorization. You will find it under Banking > All Accounts, on the Authorizations tab. Other users cannot see or change these settings.
Adding, editing, or removing an authorization, and changing your default rule, is gated behind multi-factor authentication (MFA).
How it works
You do not need to build your list up front.
The first time a counterparty tries to debit your account, Rho flags the debit and notifies you so you can decide whether to authorize them going forward. If you would rather set things up in advance, you can add counterparties to your list yourself at any time:
Rho looks up the debit's ACH Company ID against your list.
If the counterparty is on the list, authorized for that account, and the amount is within its limit, the debit goes through.
If any of those checks fail, Rho flags the debit and holds it for review.
The counterparty is authorized for this account and the amount is within the limit
Allows the debit
The counterparty is not on your list
Flags the debit
The counterparty is on your list but not authorized for this account
Flags the debit
The amount is over the counterparty's limit
Flags the debit
The counterparty is authorized for this account and the amount is within the limit
Allows the debit
The counterparty is not on your list
Flags the debit
The counterparty is on your list but not authorized for this account
Flags the debit
The amount is over the counterparty's limit
Flags the debit
Note: An ACH Company ID is the identifier for the counterparty pulling money from your account. It can contain letters and numbers, for example SHOPIFYPMT. Rho matches debits by Company ID rather than counterparty name, because it is the most reliable identifier. To get it, request it from the counterparty directly or find it on a past ACH debit from them.
When Rho flags a debit, it holds the debit for 8 hours and notifies Account Owners and Admins. During that window, you can approve or reject it. If no one approves or rejects it within 8 hours, Rho applies your default action for flagged debits.
Where you will see flagged debits
Rho surfaces a flagged debit in three places:
The notification on the home page
A warning banner on the All Accounts page, with a "Go to approvals" link.
The debit appears on the Approvals page. The Approvals needed tile on the All Accounts page shows how many are waiting on you.
Review and approve or reject a flagged debit
Open the Approvals page from the notification, the All Accounts banner, or the Approvals needed tile.
Find the flagged ACH debit. Rho shows the amount, the counterparty, and how much time you have left to decide.
Choose Approve or Reject.
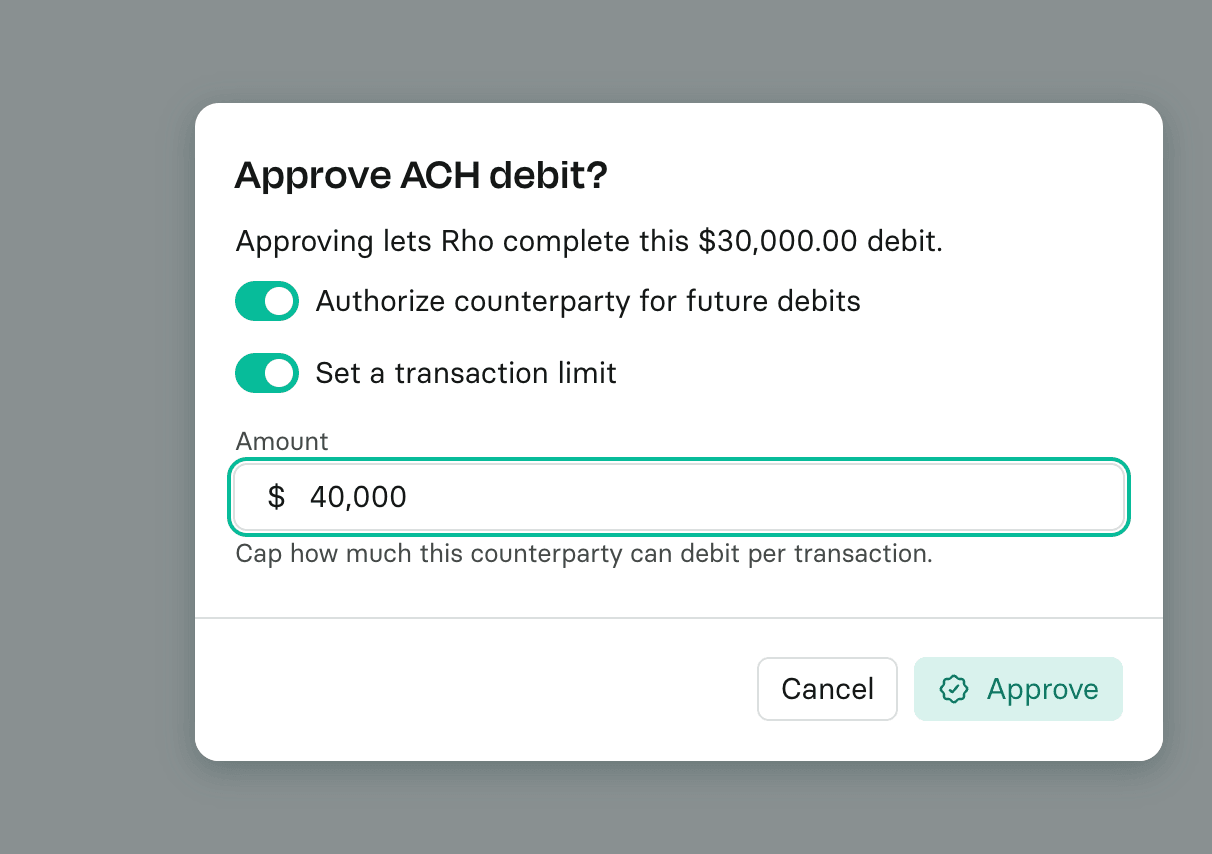
When you approve, you can also:
Turn on Authorize counterparty for future debits to add the counterparty to your list, so their future debits are allowed automatically.
Turn on Set a transaction limit to cap how much this counterparty can pull.
Approving lets the current debit complete. Rejecting returns the debit to the sender.

Set your default action for flagged debits
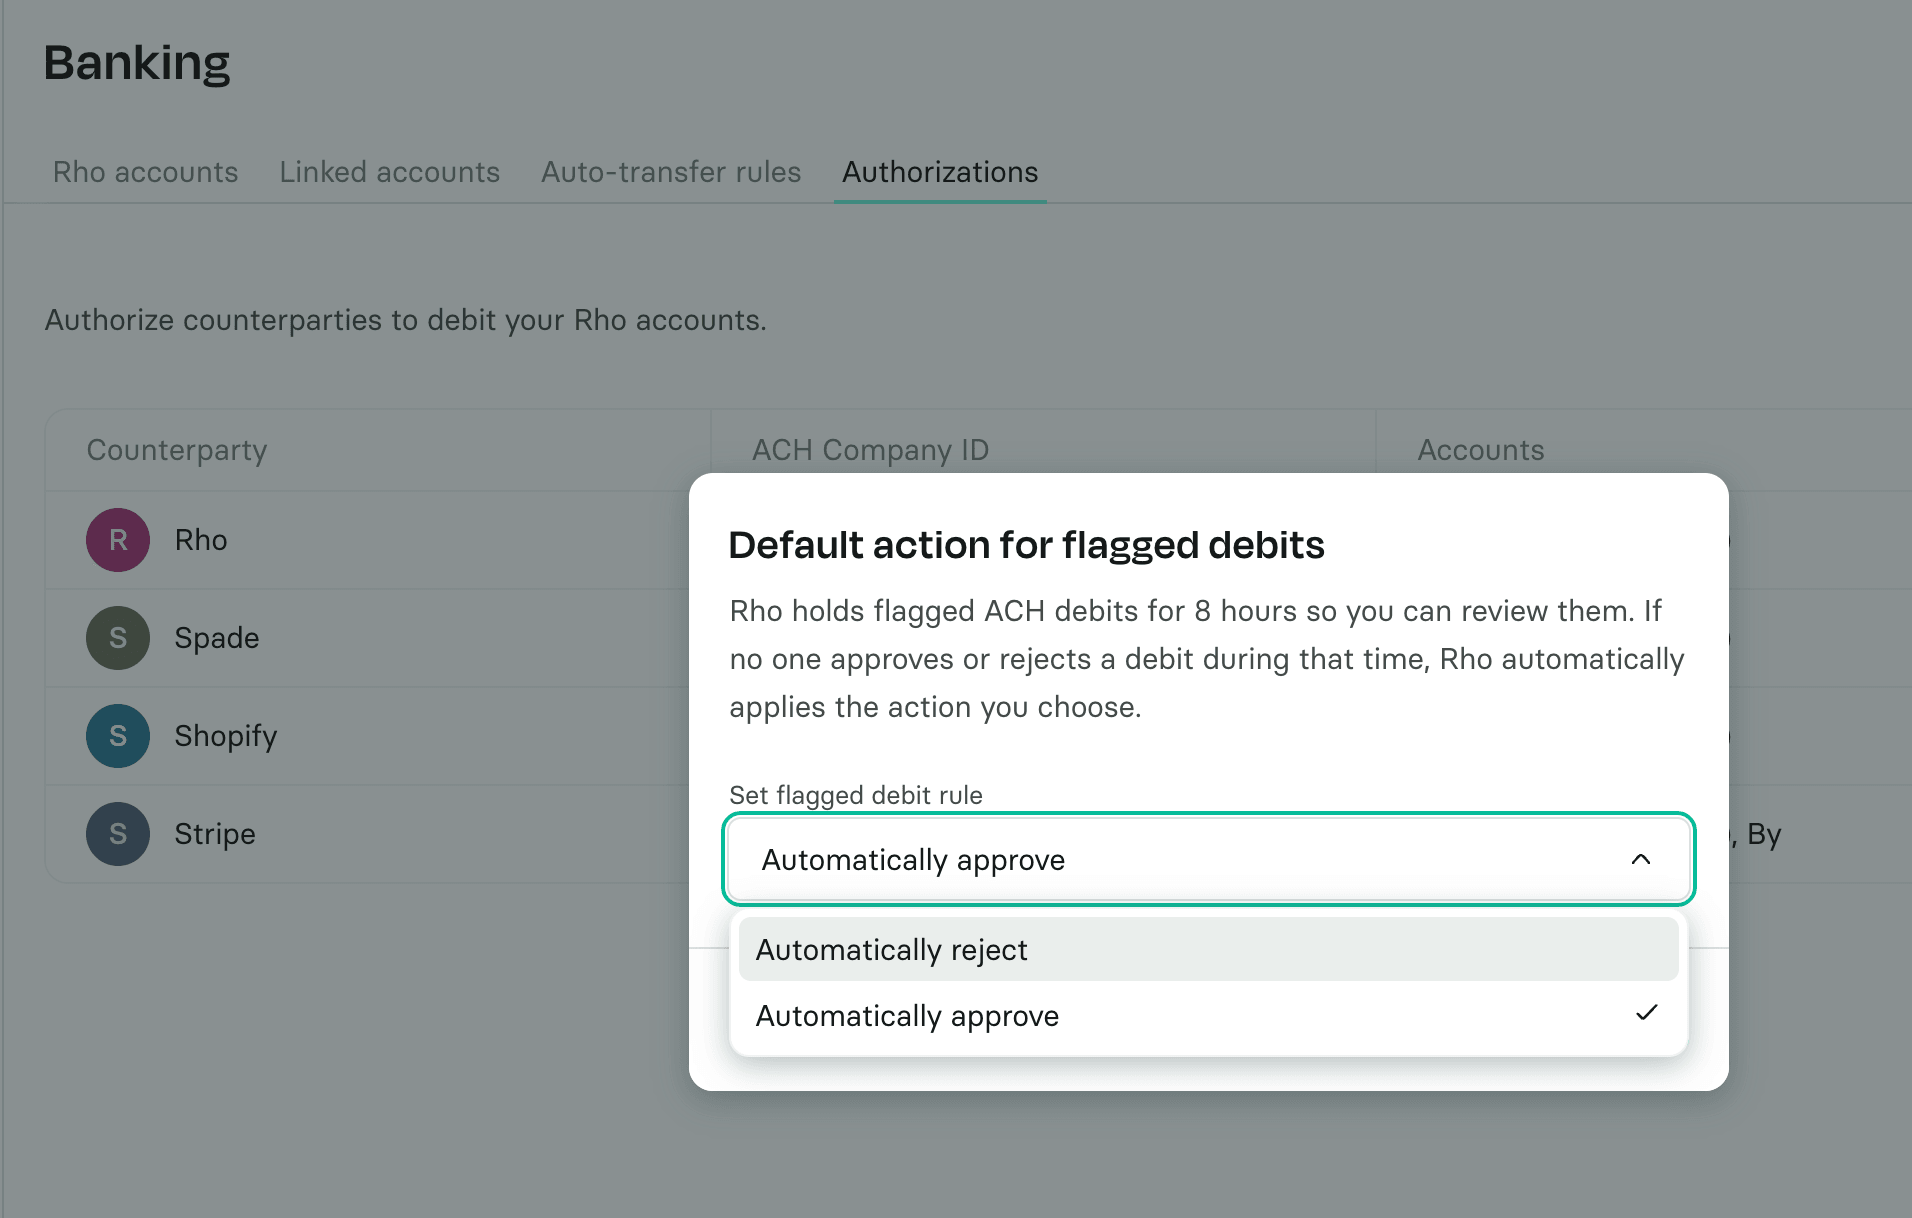
Your default action decides what happens to a flagged debit if no one approves or rejects it within the 8-hour window.
Go to Banking, then All Accounts, then the Authorizations tab.
Next to Flagged debits, select the edit icon.
Under Set flagged debit rule, choose Automatically approve or Automatically reject.
Select Save.
New accounts start on Automatically approve. Changing this rule requires MFA verification.
Adding an ACH authorization
Go to Banking, then All Accounts, then the Authorizations tab, and select Add authorization.
Enter the counterparty. If it is not already saved, add it by name.
Enter the counterparty's ACH Company ID. If the counterparty uses more than one Company ID, add each one.
Under Authorized Rho accounts, select the checking accounts this counterparty can debit.
To cap how much the counterparty can pull, turn on Transaction limit and enter an amount. If you leave it off, the counterparty can pull any amount from the selected accounts.
Select Continue, review the details, and select Authorize.
Complete identity verification to finish.
You can find an ACH Company ID on a past ACH debit from that counterparty, or ask the counterparty for it.
Note: Your default action decides what happens to debits from counterparties you have not authorized. If you set it to Automatically reject, any debit from an unlisted counterparty that you do not approve within 8 hours is returned. Add your known counterparties first so their debits are not held.
If a debit is returned
When a debit is rejected, either because you rejected it or because your default action returned it, Rho sends an email to Account Owners and Admins. The email includes the counterparty, the ACH Company ID, the account, the amount, the date, and the reason the debit was returned. Rho cannot bring back a debit that was already returned.
Good to know
Rho matches debits by ACH Company ID, not by counterparty name. A counterparty's name can appear differently across debits, so the Company ID decides the match.
An ACH Company ID can contain letters and numbers. Rho cannot confirm the ID belongs to that counterparty until a matching debit arrives.
One ACH Company ID can be used by more than one counterparty, because some counterparties pull money through the same payment processor. If you authorize a counterparty that uses a shared ID, other counterparties that use the same ID may also be allowed.
Some counterparties use more than one ACH Company ID. To allow all of their debits, add every ID they use.
Need help?
If you have questions about setting up or managing auto-transfer rules, contact Rho Client Service at clientservice@rho.co or call 855-743-8746.