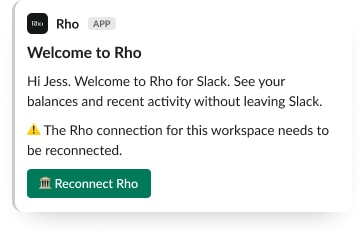
Setup happens in two stages: install the app into your Slack workspace, then connect the workspace to your Rho business. Installing alone connects nothing, so plan for both.
Step 1: Install the app to your Slack workspace
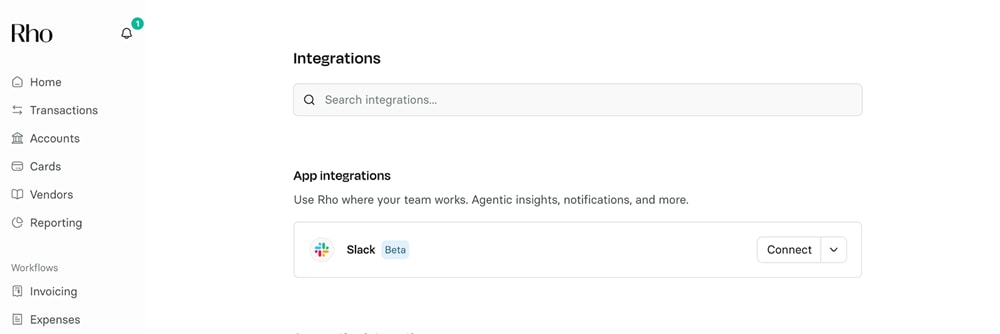
In the Rho web app, go to Settings → Integrations and find the Slack tile
Select Connect to start the install
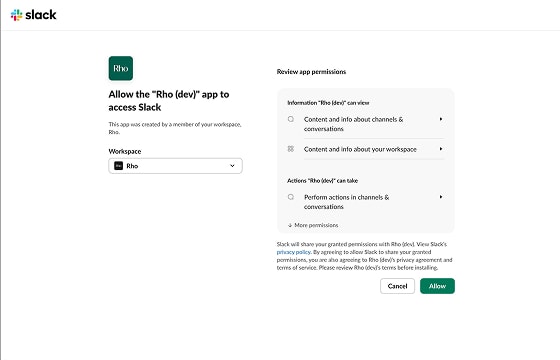
Approve the app on Slack's consent screen
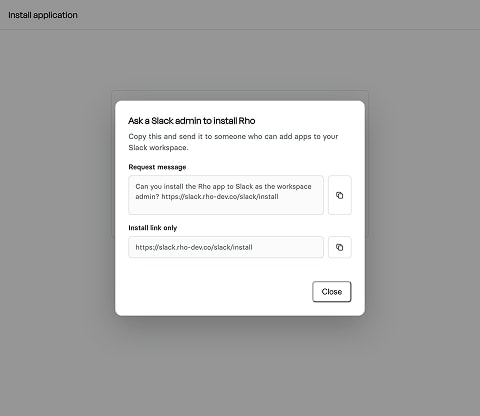
 If you can't install apps in your workspace: installing apps is a Slack workspace permission, and many workspaces restrict it. Use Ask a Slack admin on the same Integrations page. It copies a ready-made install request you can hand to whoever manages your Slack workspace. Some workspaces also queue app installs for admin review, so a quiet wait after requesting is normal.
Step 2: Sign in with Rho
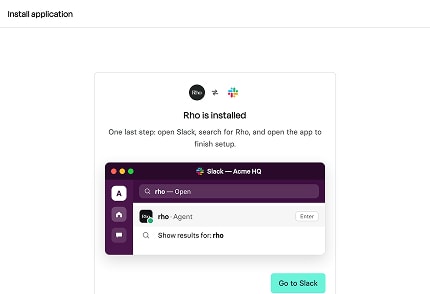
Open the Rho app in your Slack sidebar and select Sign in with Rho. The link opens Rho's sign-in in your browser; once you finish, head back to Slack. Sign-in links are personal, so each teammate uses their own.
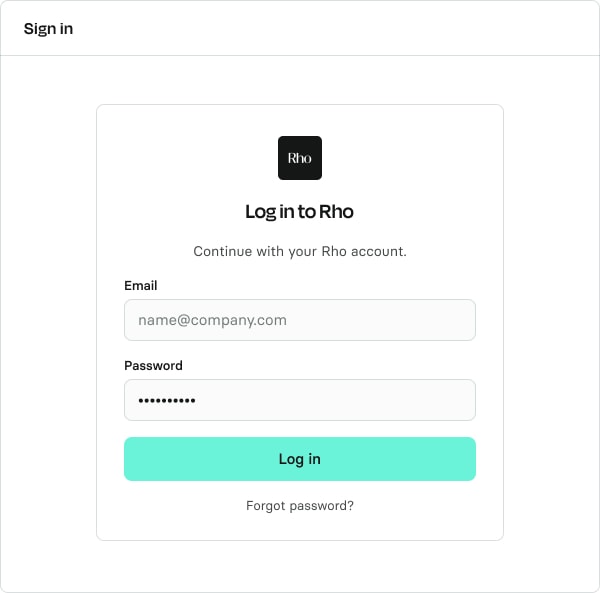
Step 3: Connect your Rho business
As a signed-in Rho Account Owner or Admin, run /rho-connect (or use the Connect Rho button on the app's Home tab). You will get a personal link to authorize the connection in your browser. The link expires shortly, so use it right away.
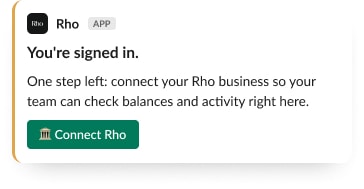
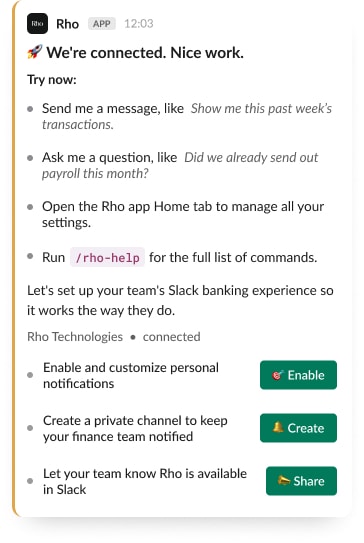
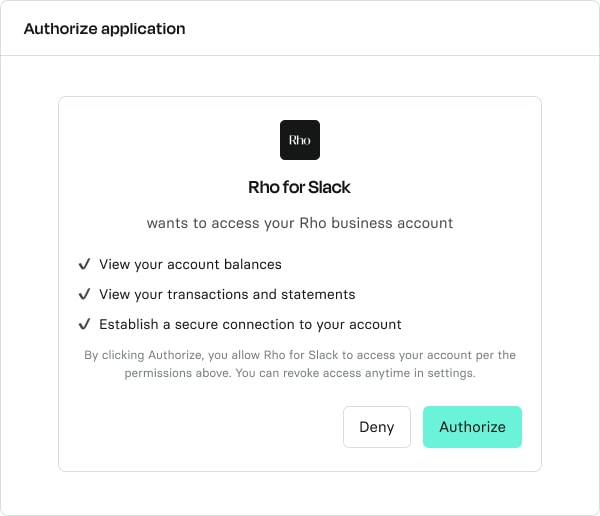 Once authorized, the app confirms in Slack and walks you through setup: personal notifications, a notification channel for your team, and sharing the app with your workspace.
Verify and manage the connection
The active connection appears as a Rho for Slack row in the Rho web app under Settings → Linked Apps, with who approved it and when
The Slack app's Home tab shows connection status: who connected it, when it last updated, and its health
Connections lapse after 30 days without use. The Home tab warns before this happens and any Rho Admin can reconnect in seconds with /rho-connect. Revoking the Rho for Slack row in Linked Apps disconnects the workspace for all users.